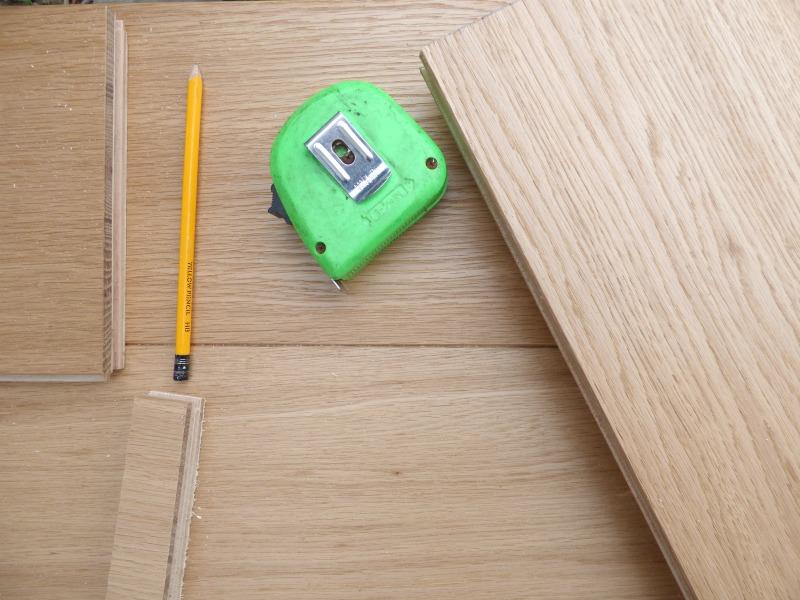
Whenever we’re doing DIY projects we’re always left with a little extra left over, whether it be extra paint or extra flooring, we make sure we a little extra for contingency and invariably have some left over. Luxury Wooden Flooring has given us a #1packchallenge, a ‘left over’ pack of wooden flooring to turn into something useful around the house.
I love a challenge and I particularly love upcycling, I can’t stand waste and much prefer to use items somewhere else rather than throw them out. We have several second hand pieces in the house that we have upcycled along with our beautiful pallet shelf taking pride of place in the living room, so we are already used to creating something from very little.

After a lot of consideration we decided to make a shoe rack/shelf area for the back door. It’s usually such a mess there, so I wanted to make it tidier and more functional. The final design idea is a bit like a book shelf on it’s side, but it perfectly suits our needs and in the future we intend to add castor wheels to the base so it’s movable (although not until the boys are older and less likely to shove it about the room!!).
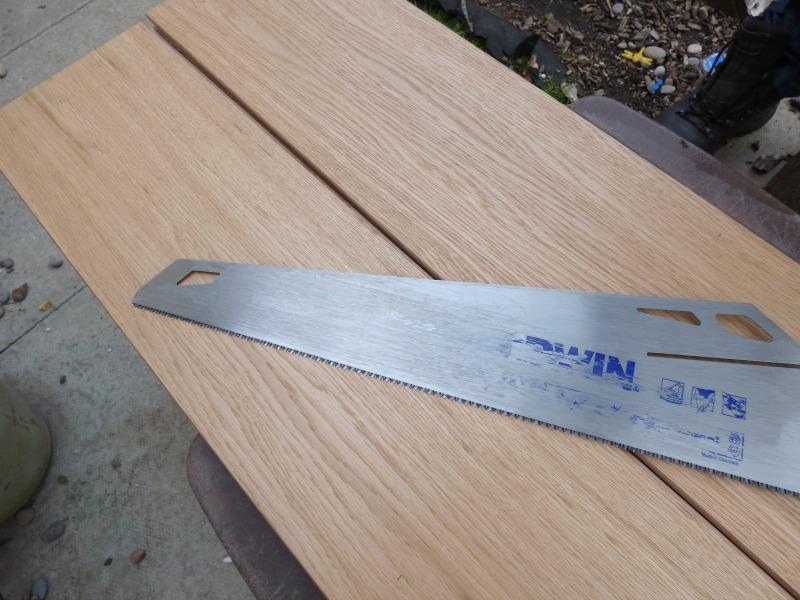
I did intend to construct the piece myself, however my husband seemed quite keen to do the construction work himself (may have something to do with the screaming children inside!) and so he got on with it.

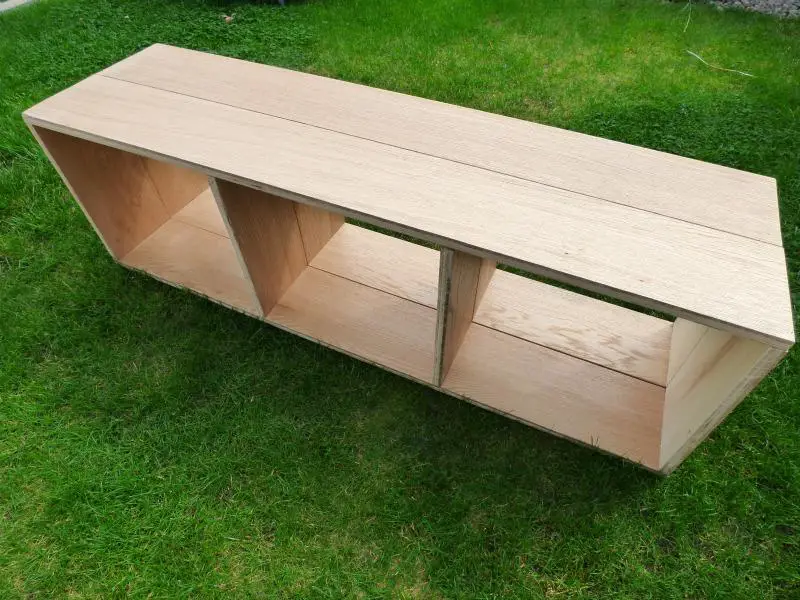
As the flooring has edges to slot the planks together they had to be cut off and sanded down first. We chose to have the grooved side facing the wall so we wouldn’t see it. The base and top are two planks wide, shortened in length to fit the space, there are then 4 uprights (also two planks wide) which are fitted to the top and bottom using the dowel and hole method. For extra support a small section of wood was screwed into the inside top of the two sides, you can’t see them unless you put your head down to the shoe rack level. It worked well and feels very sturdy, making a good bench to sit on to put on your shoes.

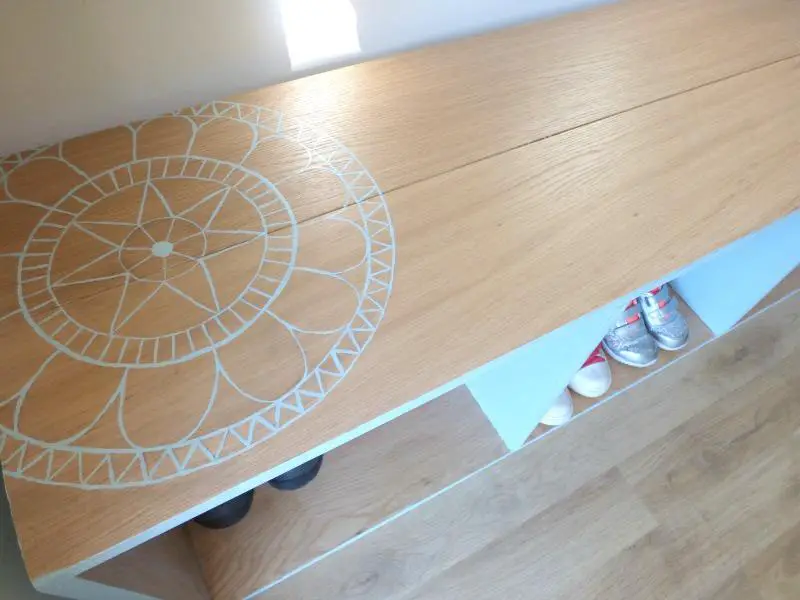
To finish it off I painted the front and the underside of the wooden flooring pieces, leaving the ‘good’ side showing.
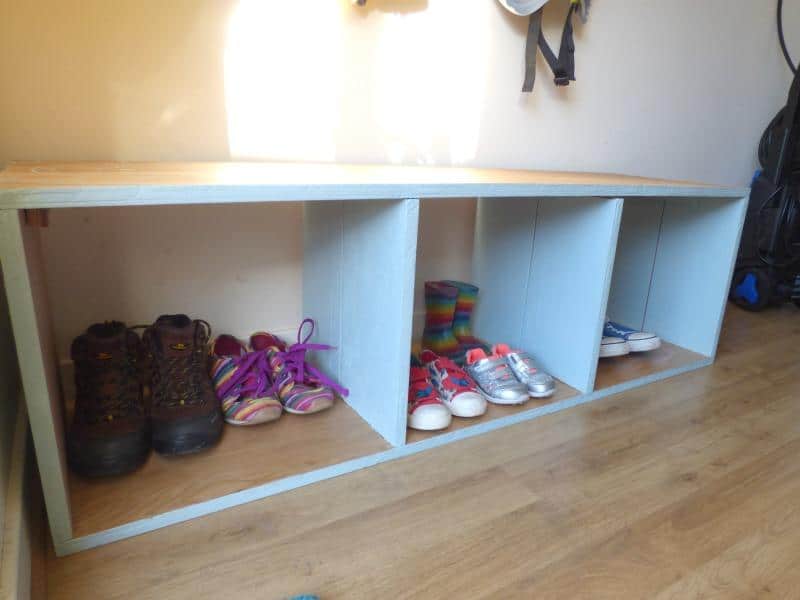
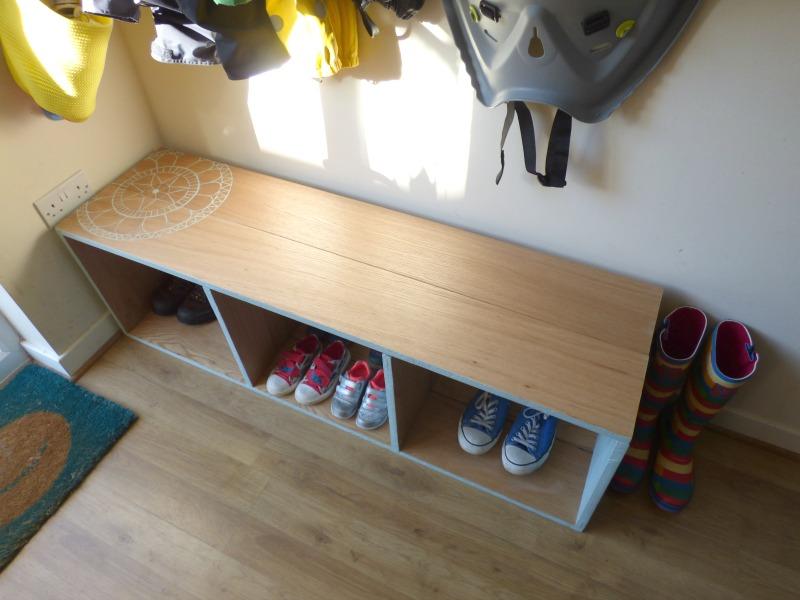
I also chose to paint a mandala design on the top for decoration and love how it all looks together, so much tidier than before!

What do you think of our one pack challenge? What would you do with your own one pack?
J x
* This is a collaborative post, however all opinions are my own.
Plutonium Sox says
Oh I love it! That’s really inspirational, it makes me want to get on and make something – luckily my husband is always more than happy to just let me get on with it 😉
Nat.x
RachelSwirl says
oh this looks amazing, I love a bit of organisation I bet you are so pleased with the result!
Twin Pickle says
I keep staring at our spare flooring thinking… What can I make… This might be the kick up the bum I need, thanks 🙂
Mike Grant says
This is wonderful! A shoe rack and could be a bench too. So cool and I love the mandala design. Thanks for sharing this!